Connect a helpdesk to your mailchimp list
This guide will help you connect a helpdesk to your mailchimp account. Follow these steps to integrate OneDesk to Mailchimp and make your work that much simpler!
Pre-requisites for this integration:
-A OneDesk account (even our trial version works too!).
-Your Mailchimp account.
-A Zapier account (the free version should be more than enough).
-The Private link to access our OneDesk app in Zapier:
https://zapier.com/developer/invite/42966/4e4907110b905debeb6a129130fa5c0b/
How can you connect a helpdesk to your mailchimp:
Zapier works in a very simple way. It has a gigantic list of applications it caters for, and you connect any of these applications together using the same basic formula: “if something happens in platform 1, take this action in platform 2”.
This formula lets you connect applications in any number of ways so you can get all the integrations you need up and running.

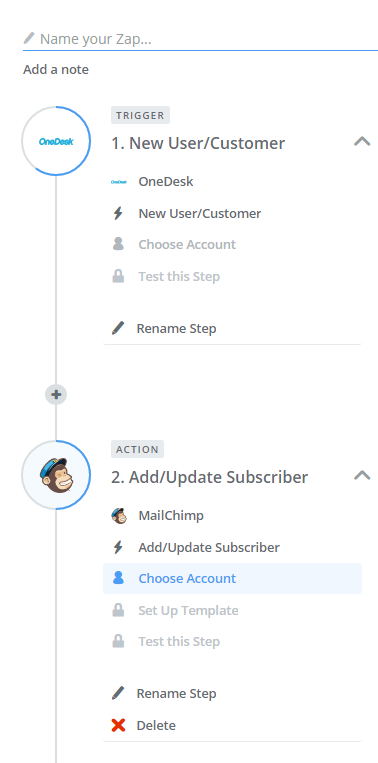
In our case we will be integrating OneDesk to Mailchimp so the formula should look a little bit like this: When a new customer is made in OneDesk, create a new subscriber in Mailchimp.
The step-by-step guide:
On the Zapier site, find the orange button labelled “Make a Zap”. This will get you to the main page where you can build the integration.
Once there, you will have to pick the two applications in order of the integration that you want based on the “trigger” and “action” phases.
You should pick OneDesk as the Trigger application and Mailchimp as the Action application. Then you should choose the specific trigger and the action for those two applications. For our integration the trigger for OneDesk should be “new customer”, for the action in Mailchimp you should choose “new subscriber”.

Once all these steps are done, you will have to login to both applications and test these steps to make sure they work. Then you can also select additional details about what information you want to see transferred and how you want it done.
Photo Credit: “Vortex Tato” / Jorge Jaramillo / CC BY
