Pushing Invoices and bills with Harvest from OneDesk
This guide is meant to help you connect Harvest to OneDesk to push invoices or bills using Harvest from your OneDesk helpdesk & project management software.
What you need to connect Harvest to OneDesk:
-A OneDesk account (even the trial works!).
-Your Harvest account.
-A Zapier account (the free version should be more than enough).
-The Private link to access our OneDesk app in Zapier:
https://zapier.com/developer/invite/42966/4e4907110b905debeb6a129130fa5c0b/
The big picture:
The system to connect Harvest to OneDesk is pretty straightforward. Zapier utilizes a formula designed along the following lines: if something happens in the first chosen application, then make something happen in the second application. This easy and vague formula allows for a myriad of different variations of the same principle: connecting applications together!
In our case today, we are going to be pushing all of our invoices and bills on Harvest, from our main platform OneDesk. the formula should therefore look a little bit like this: If a new project is completed in OneDesk, create a new timesheets entry on Harvest.

The how-to guide:
The good news is, not only is the formula simple, but the way to connect Harvest to OneDesk is easy as well. First thing you will need to do is to connect to your Zapier account making sure you have our developers special link activated.
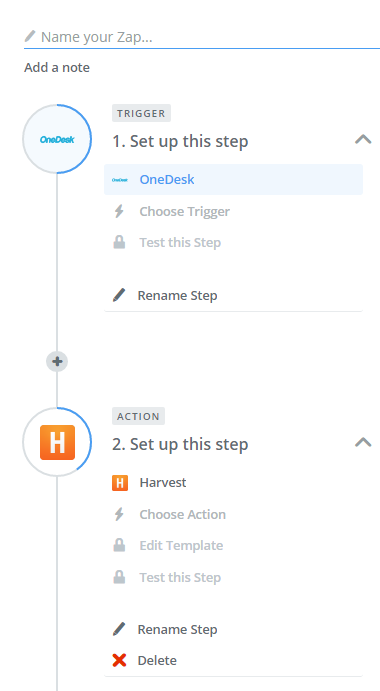
Then you need to find the Orange button that says “Make a Zap”. Once in there you will be presented with a simple skeleton of choices you have to fill up. These options are very simple.
First, pick a trigger application. This is the application in which something happens, leading to the new application doing something in return. In our case we picked OneDesk for this, so you should do the same!
The next step is to pick the action application, that is of course the second application which, in our case again, is Harvest. Then pick “updated container” as the special trigger that takes place in OneDesk and choose “new timesheets entry” for Harvest as the action of the formula.

Once the two applications are selected you will have to login to both, and then proceed to choose the kind of information you want transferred and how it should all look. This is pretty much where you can customize and tweak the end result so it fits your needs and use case.
You can also test individual steps, like either applications or the actual integration you have just built to make sure that all is going according to plan.
After all this, simply name your new creation and find the grey slider in the top right that says “Your Zap is OFF” and flick it to on! And there you go, you have successfully managed to connect OneDesk to Harvest and can now bill and invoice customers and clients easily!
Photo Credit: “Pink Piggy” / Ken Teegardin / CC BY
