Feature Spotlight : Export a Data View
OneDesk is a very multipurpose application. It’s all-in-one suite is composed of several useful features, many of which will become your best friends and huge time savers. It’s all in how you use OneDesk and all in the little things! Today we’ll be looking into the ability to create your own custom reporting using the export a data view from OneDesk.
What is the Export a View function?
OneDesk offers a clear and thorough ability to create and export various kinds of reports. These can be found easily in the reporting tab on the application. We did, however, want to give users more leeway and so we created the ability to export your own personalized view.
This function is much more versatile because you’re in control of how you wish to use it.
So, What can you use Export a Data View for?
The key with Export a View is in creating the views you need, and as many as you need. Navigation within OneDesk is very customizable.
If you require your data set in a certain way you can easily go about creating that specific view via custom and stack-able filters, column distributions, custom fields, custom item types, etc.
This means that Exporting a View can be the constant view you have within OneDesk: the one you use on a daily basis and best fits your needs. Or it could be a variety of views created only for the purpose of special reports you might need in special cases.
OneDesk’s data within the app is always set in a way that it can be easily extracted and exported (in an Excel sheet for example) and which keeps both the values and the different information set in the columns and fields.
This is how it all works:
First arrange your grid the way you want your report. Show or hide columns, move the columns around, sort them.
Second, make a new filter, to show only the items/timesheets/etc to show to the info you really want to see. The filter creation process is very simple and offers a wide range of possibilities. Don’t forget to save your filter for future re-use. The column arrangements are saved too.

Third, export the view. This can be found in the tools icon which resides in the top blue bar of the application. You will get a CSV which can be opened by excel and may other applications.

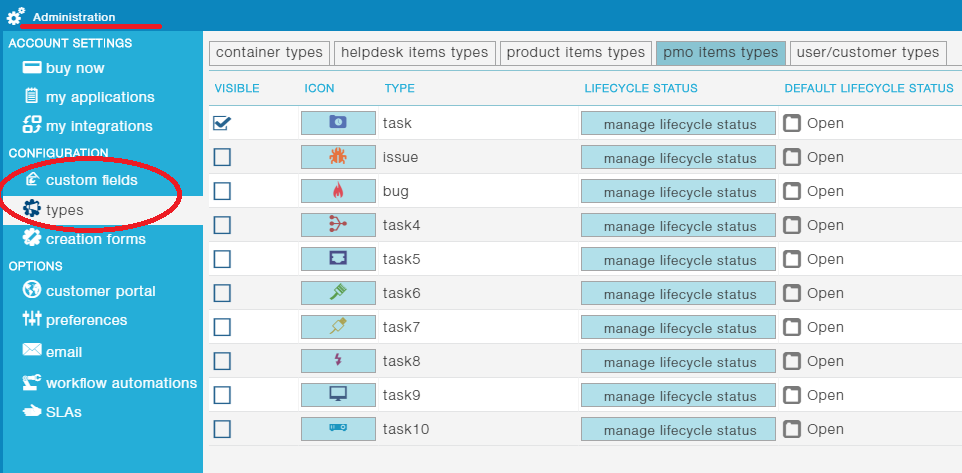
BONUS TIP: You can also play around with custom fields and item types. These will allow you to customize your data even more and create a multitude of reporting options based on what you need. Everything from fields, item icons, types and life-cycle statuses can be modified to better suit your needs.

Like we said, Export a Data View is all about getting what you need out of OneDesk. You can use this function for the view you use daily or set up hundreds of new ones if you so choose! Just follow this little guide and you’re all set!
To learn more about features in OneDesk check our website! If you want to get some one-on-one coaching on how to set features up you can also book a demo.
